TL;DR:
- Choosing a golf instructor depends on your skill level and learning style, whether PGA-certified or specialized non-PGA. Empathy and good communication are more important than their playing record, and a trial lesson helps assess compatibility. Matching your needs with an instructor’s expertise leads to better improvement and enjoyment of the game.
Golf instructors fall into two primary categories: PGA-certified professionals and non-PGA specialists, each shaped by distinct training philosophies and teaching methods. Understanding the types of golf instructors available to you is the single most important step before booking your first lesson. PGA certification demands a rigorous three-year program covering coaching, equipment fitting, and business management, while some non-PGA certifications can be completed in as little as four days. That gap in training depth shapes everything from how an instructor diagnoses your swing to how they communicate progress. Matching your learning style and goals to the right coach type accelerates improvement far more than any single drill or tip.
1. PGA-certified golf instructors
PGA-certified professionals represent the most thoroughly trained category of golf coach. Their three-year PGA program covers coaching methodology, equipment technology, business operations, and player development across all skill levels. That breadth means a PGA pro can work with a complete beginner on grip fundamentals and with a scratch player on course management strategy, often in the same week.

The practical advantages of working with a PGA pro extend well beyond swing mechanics. They are trained in club fitting, meaning they can identify whether your equipment is limiting your progress before you spend another hour on the range. They also build structured development plans with measurable milestones, so you leave each session knowing exactly what to practice and why.
Key strengths of PGA-certified instructors include:
- Holistic player development from beginner to advanced levels
- Club fitting knowledge integrated into lesson plans
- Structured, measurable progress tracking
- Broad communication skills adapted to different learner types
Pro Tip: Ask your PGA pro for a written practice plan after each lesson. Instructors who provide video summaries or written notes give you a reference point that accelerates improvement between sessions.
2. Non-PGA golf instructors
Non-PGA instructors occupy a wide and genuinely valuable space in golf coaching. Specialized instructors often dedicate 90–100% of their curriculum to a single methodology, whether that is AimPoint putting, high-speed video swing analysis, or junior player development. That depth of focus can produce faster results for golfers with a specific, well-defined problem.
The trade-off is scope. A non-PGA instructor who specializes in data-driven swing analysis may lack the equipment fitting knowledge or course management perspective that a PGA pro brings. Their certifications also vary widely in rigor, from weekend courses to multi-year apprenticeships under a recognized methodology founder.
Common non-PGA specializations include:
- AimPoint putting technique and green reading
- Biomechanics and kinematic sequence analysis
- Junior and youth player development
- Short game and wedge play specialization
Pro Tip: Before booking with a non-PGA instructor, ask specifically what certification they hold and who issued it. A methodology-specific credential from a recognized program carries real weight. A weekend certificate from an unknown provider does not.
3. Mechanical instructors: the technical breakdown approach
Mechanical instructors build their teaching around precise technical positions and biomechanical principles. They use terms like hip rotation angle, lag preservation, and shoulder plane because they believe correct positions produce correct ball flight. For analytical golfers who want to understand the “why” behind every movement, this approach feels deeply satisfying.
The risk with purely mechanical instruction is cognitive overload. Good instructors limit students to no more than two key swing thoughts per session. Mechanical coaches who ignore this principle can leave students paralyzed on the course, thinking about positions instead of playing golf. The best mechanical instructors pair technical precision with clear prioritization, giving you one or two changes to own before adding the next layer.
4. Feel-based instructors: the intuitive movement approach
Feel-based instructors teach through sensation, imagery, and natural movement rather than technical positions. They might ask you to imagine throwing a ball toward the target or to feel your weight shift like water moving in a glass. This approach works exceptionally well for golfers who struggle to translate technical language into physical movement.
The strength of feel-based coaching lies in its transferability to the course. When you are standing over a difficult shot under pressure, a feel cue is far more accessible than a mechanical checklist. The limitation is that feel-based instruction can be harder to self-diagnose when something goes wrong, since the feedback loop depends on sensation rather than measurable data.
5. Data-driven instructors: the technology-led approach
Data-driven coaches use tools like TrackMan launch monitors, high-speed video analysis, and force plate technology to measure every aspect of your swing and ball flight. Swing analysis technology removes guesswork from diagnosis, giving both instructor and student objective evidence of what is actually happening versus what it feels like is happening.
This approach suits golfers who are motivated by numbers and want to track progress with precision. An intermediate player who has plateaued often benefits enormously from a single data-driven session that reveals a club path or attack angle issue invisible to the naked eye. The potential downside is that some golfers become so focused on numbers that they lose the feel and flow of natural athletic movement.
| Teaching style | Best suited for | Primary tool |
|---|---|---|
| Mechanical | Analytical, detail-oriented players | Position checkpoints |
| Feel-based | Intuitive, athletic learners | Imagery and sensation cues |
| Data-driven | Progress-focused, plateau-breaking players | TrackMan, video analysis |
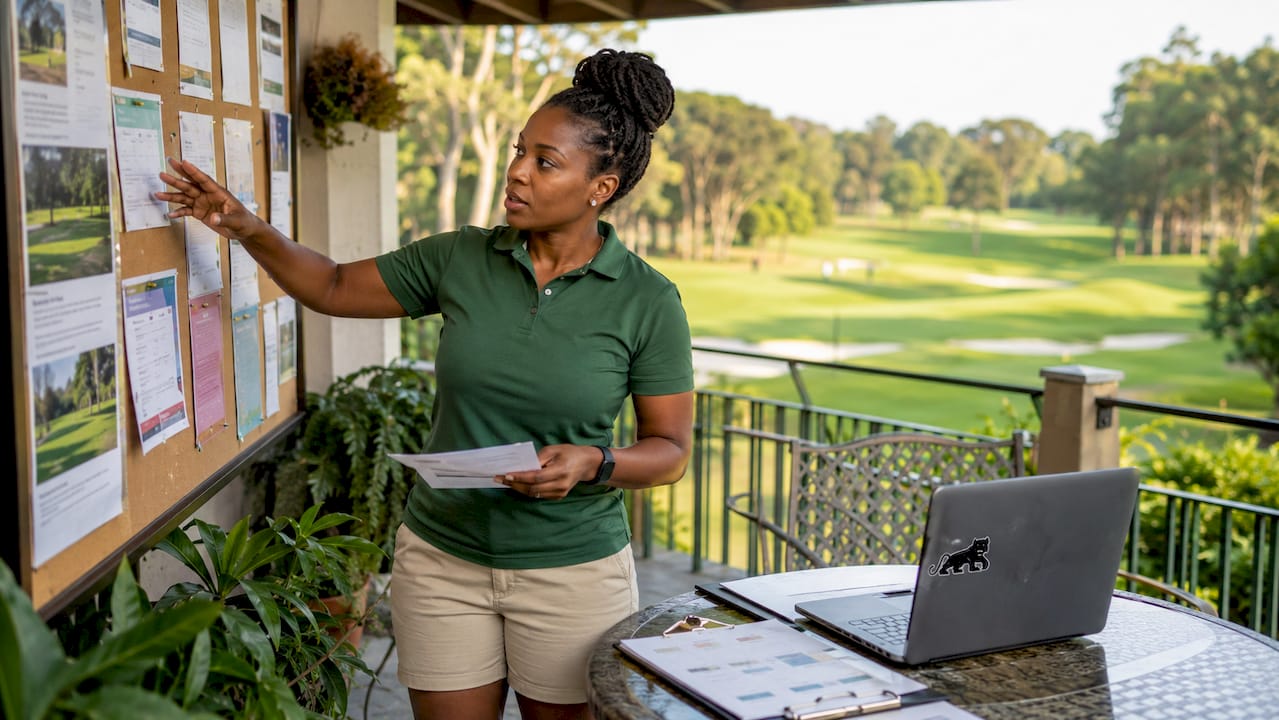
6. How to evaluate golf instructor qualities
The most important golf instructor qualities have nothing to do with their own playing handicap. Empathy and emotional intelligence matter more than playing ability when it comes to effective instruction. High-performing players frequently struggle to empathize with the challenges amateurs face, which is why a former tour pro is not automatically a great teacher.
Listening is the defining skill of the best instructors. A coach who talks at you for 45 minutes without asking about your goals, your frustrations, or your practice schedule is not adapting to you. They are delivering a script. The right instructor asks questions first and builds a plan around your answers.
Red flags to watch for during a trial lesson:
- More than two swing changes introduced in a single session
- No follow-up plan or practice notes provided
- Communication style that does not match your learning preference
- Impatience when you ask clarifying questions
Pro Tip: Treat your first lesson as a golf instructor interview. Ask the instructor how they measure progress, how many swing thoughts they typically give per session, and whether they offer playing lessons. Their answers reveal their philosophy immediately.
7. Playing lesson instructors: on-course coaching specialists
Playing lessons represent one of the most underused formats in golf instruction. On-course instruction addresses course management, pressure situations, and uneven lie adjustments in ways that range sessions simply cannot replicate. Many golfers realize too late that their range swing and their course swing are entirely different animals.
A playing lesson instructor walks the course alongside you, coaching decisions in real time. They observe how you handle a downhill lie, a 150-yard carry over water, or a three-foot putt with a match on the line. That context produces insights that no amount of range work can generate. Intermediate and advanced players gain the most from this format, though beginners benefit from at least one on-course session early in their development.
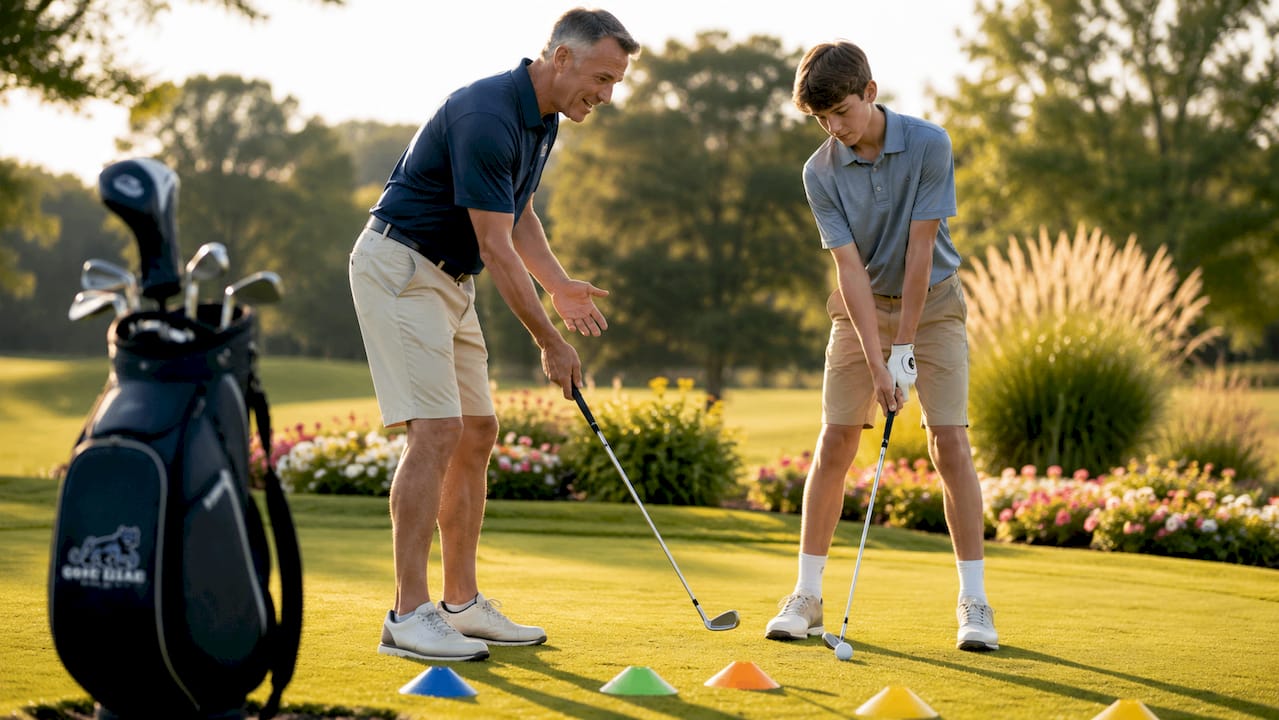
8. Junior golf instructors: development-focused coaching
Junior golf instructors specialize in age-appropriate, confidence-building coaching that respects the developmental stage of young players. Junior coaching prioritizes fun, motor skill development, and positive reinforcement over technical perfection. A coach who applies adult-level mechanical instruction to a ten-year-old will extinguish enthusiasm faster than any bad shot.
The best junior instructors hold youth-specific credentials and understand child psychology as well as golf mechanics. They use games, competitions, and short-format play to build engagement. Parents should look for instructors who communicate progress in terms of confidence and enjoyment, not just handicap reduction.
9. Matching instructor type to your skill level and goals
The right instructor type changes as your game evolves. Beginners benefit most from PGA-certified pros who can build a sound technical foundation while keeping the experience positive and manageable. Intermediate players who have hit a plateau often gain the most from a data-driven session or a playing lesson that exposes course management gaps.
Advanced and competitive players frequently seek niche specialists, whether that is a short game expert, a putting coach certified in AimPoint, or a biomechanics specialist who works with tour-level athletes. The key is matching the specificity of your problem to the depth of the instructor’s specialization. A generalist is the right starting point. A specialist is the right next step once you know exactly what needs fixing.
Key takeaways
The most effective approach to finding a golf instructor is to match your skill level and learning style to a coach’s specific credentials, teaching philosophy, and communication approach before committing to a series of lessons.
| Point | Details |
|---|---|
| Certification depth varies widely | PGA training takes three years; some non-PGA certifications take four days. |
| Teaching style shapes your experience | Mechanical, feel-based, and data-driven approaches suit different learner types. |
| Empathy outranks playing ability | Top instructors score higher on emotional intelligence than on their own handicap. |
| Trial lessons are interviews | Use the first session to assess communication, listening, and progress planning. |
| Specialist vs. generalist | Beginners need generalists; advanced players benefit from niche specialists. |
What I’ve learned about finding the right golf instructor
The golf world places enormous weight on credentials, and credentials do matter. But the single most common mistake I see golfers make is choosing an instructor based on their playing resume rather than their teaching record. A former tour player who cannot explain a concept three different ways is not a good teacher. A club professional with 20 years of patient, adaptive instruction often is.
The psychological fit between student and instructor is genuinely underrated. Progress requires trust, and trust requires a coach who listens before they speak. I have watched golfers spend years with technically qualified instructors who never once asked what the student actually wanted from their game. That mismatch produces frustration, not improvement.
My honest advice: treat the trial lesson as the most important session you will ever take. Ask hard questions. Notice whether the instructor listens or lectures. Watch whether they give you one clear thing to work on or overwhelm you with a rebuild. The right coach makes you feel capable after the first session, not confused. That feeling is the most reliable indicator of a productive long-term relationship.
— Michael Marini
Golf Blab resources to support your coaching search
Golf Blab brings together educational content, professional partnerships, and products designed to complement every stage of your instruction. Whether you are booking your first lesson with a PGA pro or working with a short game specialist, the Swing Like a Pro training tool gives you a structured way to reinforce what you learn between sessions. Golf Blab’s partnership with LPGA professional Mariel Galdiano reflects the same commitment to credible, experience-backed guidance that you should demand from any instructor. For golfers who want to bring personal identity to the course alongside their improving game, custom golf club labels let your equipment reflect the player you are becoming.
FAQ
What are the main types of golf instructors?
Golf instructors fall into two primary categories: PGA-certified professionals and non-PGA specialists. PGA pros complete a three-year training program, while non-PGA instructors typically focus on a specific methodology or niche area.
How do I choose between a mechanical and feel-based instructor?
Analytical golfers who want to understand technical positions tend to thrive with mechanical instructors. Golfers who learn better through imagery and sensation perform better with feel-based coaches.
What golf instructor qualities matter most?
Empathy, listening skills, and the ability to adapt communication to your learning style matter more than playing ability. The best instructors provide clear practice plans and limit each session to two key swing changes.
What should I ask during a golf instructor interview?
Ask how the instructor measures progress, how many swing thoughts they give per session, and whether they offer playing lessons. These questions reveal teaching philosophy faster than any credential check.
Are non-PGA golf instructors worth considering?
Non-PGA instructors are worth considering when you have a specific, well-defined problem that matches their specialization. For foundational development, a PGA-certified professional offers broader expertise and more structured progression.