
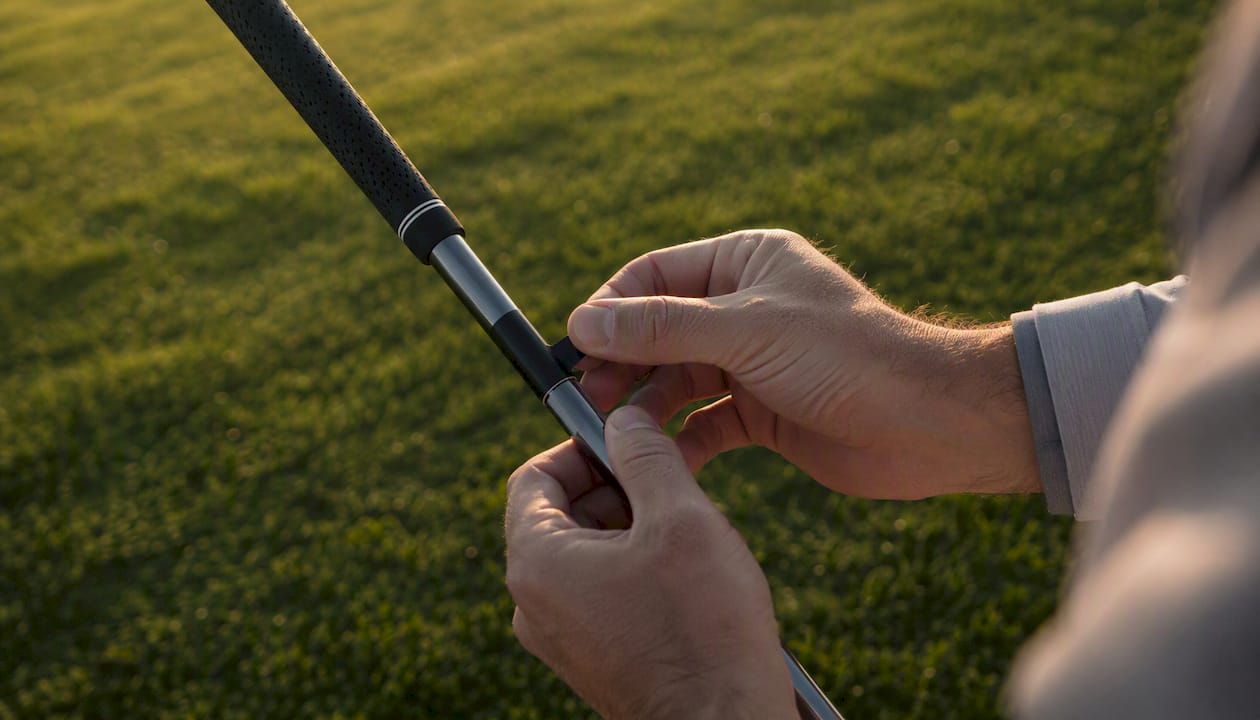
The fastest, most reliable way to label golf clubs is to apply a weatherproof vinyl shaft ID label just below the grip — visible to any finder, clear of your hands during the swing, and built to survive rain, bag friction, and UV exposure. Start with your wedges and putter, since those are the clubs most frequently left near greens and practice areas. Then work through the rest of your set. According to Identification Labels for Golf Clubs, this below-the-grip placement is the default recommendation precisely because it balances visibility with zero interference.
- Use weatherproof vinyl or laminated labels, not paper stickers
- Label wedges and putter first, then irons, then woods
- Include your name plus a phone number or a short “Reward if found” line
- Consider a QR code if you prefer not to display your number publicly
Pro Tip: Add a short “Reward if found” line alongside your contact info. According to The Brassie, labels with a reward line and a visible phone number return lost clubs faster than those with contact info alone. QR codes work well for privacy but add a scan step that not every finder will take.
Key Takeaways
Weatherproof vinyl shaft labels placed just below the grip, applied to a clean surface and left to set for 24 hours, are the most reliable way to identify and recover golf clubs.
| Point | Details |
|---|---|
| Start with wedges and putter | These clubs are left behind most often; label them before the first round. |
| Placement: 1–2 inches below grip | This zone is visible to finders and clear of your hands during the swing. |
| Material matters | Vinyl or laminated labels outlast paper stickers; cheap materials fail within a few rounds. |
| Custom labels beat DIY for full sets | Pre-printed labels offer consistent sizing, weatherproof materials, and QR code support. |
| Golf Blab custom labels | Weatherproof, golf-specific shaft labels with proof approval and multiple ink colors available to order. |
Table of Contents
- Why should you label your golf clubs at all?
- What types of labels work best for golf clubs?
- Where exactly should you place labels on each club?
- How do you apply labels so they actually stay on?
- How do you remove old labels without damaging the shaft?
- How do you keep labels readable through a full season?
- Custom pre-printed labels or DIY: which should you choose?
- What tools and template sizes do you need?
- Golf Blab custom labels: a ready-made solution worth considering
- What experienced players have learned about labeling clubs
- Golf Blab makes it easy to label your clubs the right way
- Sources
Why should you label your golf clubs at all?
Personalization is more than an aesthetic choice. A labeled club is an identified club, and identification is what separates a recovered club from a lost one.
- Identification in group play: When four bags sit near the same green, unmarked clubs look identical. A label on the shaft resolves confusion instantly.
- Recovery after loss: A finder who sees your name and number has a clear path to return the club. Without that, even an honest finder has no way to reach you.
- Organization and maintenance: Labels help you track which wedges and putters have been serviced, re-gripped, or recently purchased — details that matter when you’re managing a full set.
- Priority clubs to label first: Wedges and putters are left behind more often than any other clubs. Any recently purchased or high-value club deserves a label before its first round.
Golf tournaments and community events add another layer of urgency. When clubs move between caddies, carts, and staging areas, proper labeling at events functions as basic risk mitigation, not just a personal preference.
What types of labels work best for golf clubs?
Not all labels survive a full season. The material you choose determines whether your label looks sharp after 50 rounds or peels off after five.
Vinyl weatherproof stickers are the most popular choice for good reason: they balance durability, cost, and customization. A quality vinyl label resists water, light abrasion, and moderate UV exposure. Reddit discussions among hobby golfers confirm that basic label-maker tape and paper stickers fail quickly, while vinyl holds up through repeated bag cycles and wet rounds.
Laminated thermal-transfer labels (sometimes called Mylar-style) offer a step up in UV resistance and surface hardness. These suit golfers who play frequently in sunny climates or store clubs in car trunks where heat and light accelerate fading.
Heat-shrink sleeves wrap the shaft and bond permanently when heated. They look clean and resist edge lifting entirely, but removal requires more effort and carries a small risk of finish damage near painted shafts. Think of them as a long-term commitment rather than a flexible ID solution.
QR-code or smart-ID labels link to an online return page, keeping your phone number private. The tradeoff, as The Brassie notes, is scan friction: a finder needs a smartphone and the willingness to scan, whereas a visible phone number requires nothing.
Pro Tip: For most golfers, a laminated vinyl label with your name and phone number printed in a large, clean font is the sweet spot between durability and return speed. Reserve QR codes for clubs you carry in public settings where privacy matters more.
| Label Type | Water Resistance | UV Resistance | Ease of Removal | Best For |
|---|---|---|---|---|
| Vinyl sticker | High | Moderate | Easy | Most golfers, full sets |
| Laminated thermal-transfer | High | High | Moderate | Frequent play, sunny climates |
| Heat-shrink sleeve | Very high | High | Difficult | Permanent ID, competition use |
| QR-code label | High (if vinyl-based) | Moderate | Easy | Privacy-conscious golfers |
Where exactly should you place labels on each club?
Placement determines whether a label survives and whether a finder actually sees it. The answer is almost always the same: the shaft, just below the grip.
- Default placement: 1–2 inches below the bottom of the grip, on the shaft. This keeps the label visible when the club rests in the bag and clear of your hands at address.
- Wedges and putters: Label these first. They spend more time resting near greens and practice greens than any other club in the bag.
- Driver and fairway woods: The shaft below the grip works here too. Headcovers obscure the label when the club is stored, but the label becomes visible the moment the cover comes off — which is exactly when a finder would look.
- Bag-level protection: A bag tag or an AirTag-style tracker protects the whole bag but does not identify individual clubs. Use both, not one or the other.
Photographic examples of labeled clubs illustrate how the below-grip placement reads clearly at a glance, even on dark graphite shafts. The label sits in a low-traffic zone that avoids the swing path and the grip-tape area.
How do you apply labels so they actually stay on?
A clean surface and a patient press are what separate a label that lasts two seasons from one that peels after two rounds. Community threads consistently point to oil, sunscreen residue, and bag-divider friction as the three main causes of early label failure.
Tools you need:
- Isopropyl alcohol (70% or higher) and a lint-free cloth
- The label itself
- Clear tape or a protective overlay sleeve (optional but recommended for high-friction areas)
- Scissors or a craft knife for trimming
- A small heat gun or hair dryer if using heat-shrink sleeves
Application steps:
- Wipe the shaft with isopropyl alcohol and let it dry completely. Any oil, sunscreen, or grip solvent residue will prevent adhesion.
- Dry the shaft thoroughly with a lint-free cloth. Do not skip this step even if the shaft looks clean.
- Hold the label against the shaft with the backing still on to confirm placement and orientation.
- Peel the backing and center the label on the shaft, starting at the midpoint.
- Press from the center outward toward each edge, working out any air bubbles.
- Smooth all edges firmly with your fingernail or a flat tool.
- Let the adhesive set for at least 24 hours before the club goes back in the bag.
Common failure modes and fixes:
- Oil or sunscreen residue: Always clean before applying, even on a brand-new club.
- Towel abrasion: Wipe clubs around the head, not the shaft label area.
- Bag-divider rub: A clear tape edge seal over the label corners reduces lift significantly. Apply to corners only — covering the full label can trap moisture.
Pro Tip: Apply labels at room temperature. Cold adhesives bond poorly; hot conditions can cause the label to stretch during application and shrink unevenly as it cools.
How do you remove old labels without damaging the shaft?
Labels eventually fade, peel, or need updating. Safe removal protects the shaft finish and leaves a clean surface for the next label.
- Soft removal: Warm the label with a hair dryer on low heat for 20–30 seconds, then peel slowly from one corner. Heat softens the adhesive without damaging most shaft finishes.
- Residue removal: If adhesive remains, apply isopropyl alcohol or a commercial adhesive remover (Goo Gone works well on graphite and steel) to a cloth and rub gently. Always test on an inconspicuous area of the shaft first.
- Replacement workflow: Once residue is gone, inspect the shaft finish for scratches or paint chips. Apply the new label only to a smooth, intact surface.
- When to consult a club technician: Heat methods near painted or rolled finishes on older clubs carry a small risk of lifting the paint. If the shaft has a custom finish or a painted logo near the label zone, have a technician handle removal.
Pro Tip: Never peel a cold label quickly. The adhesive bonds more aggressively at low temperatures, and a fast pull can lift the shaft’s clear coat along with the label.
How do you keep labels readable through a full season?
A label that fades or peels mid-season defeats its purpose. Routine care adds months to label life without much effort.
- Cleaning: Use mild soap and warm water on the shaft. Avoid abrasive brushes near the label area; a soft cloth is enough.
- Periodic inspection: Check label edges and corners after every five to ten rounds. Edge lifting almost always starts at the corners before spreading inward, so catching it early means a simple press rather than a full replacement.
- Environmental durability: Weatherproof vinyl and laminated labels handle dew, rain, and sweat reliably. Paper or basic thermal-transfer labels without lamination will fail in wet conditions, sometimes within a single round.
- When to replace: Faded text, lifted edges, or wrinkling are all signals to replace promptly. A label that can’t be read quickly is no longer doing its job.
Pro Tip: Store clubs in a cool, dry space rather than a car trunk. Prolonged heat accelerates adhesive breakdown and UV fading, even on labels rated for outdoor use.
Custom pre-printed labels or DIY: which should you choose?
Both routes work, but they suit different golfers. The choice comes down to how many clubs you’re labeling, how polished you want the result to look, and how much time you want to spend.
Custom pre-printed labels arrive with consistent sizing, professional typography, and weatherproof materials already built in. They’re the better choice for a full set, a gift, or any situation where appearance matters. Vendors can incorporate QR codes, color accents, and logo elements that a home printer cannot replicate cleanly on vinyl.
DIY labels printed at home cost less upfront for a small run and give you flexibility for temporary or experimental labeling. The durability gap is real, though. As Reddit golfers report, home-printed labels on standard paper or basic thermal stock fail quickly unless you use proper waterproof vinyl sheets and a compatible inkjet or laser printer. Laminating after printing closes most of that gap but adds a step and cost.
| Factor | Custom Pre-Printed | DIY Printed |
|---|---|---|
| Upfront cost | Higher per label | Lower for small runs |
| Durability | High (purpose-built materials) | Variable (depends on media and printer) |
| Visual quality | Professional, consistent | Depends on printer and design skill |
| QR code support | Yes, vendor-integrated | Possible but requires design software |
| Best for | Full sets, gifts, polished look | Temporary labels, single clubs, testing |
What tools and template sizes do you need?
Getting the dimensions right before you order or print saves wasted material and ensures the label fits the shaft without overlapping the grip or wrapping awkwardly.
- Standard shaft label size: Most vendors size shaft ID labels at approximately 2.5 inches × 0.75 inches for steel and graphite shafts. This fits cleanly in the 1–2 inch zone below the grip without wrapping more than halfway around the shaft.
- Wedge and putter labels: Putter shafts vary more in diameter; confirm the shaft circumference before ordering. A slightly narrower label (2 inches × 0.625 inches) suits thinner putter shafts.
- Font size: Use a minimum of 10–12 point in a clean sans-serif font (Arial, Helvetica, or similar). Anything smaller becomes unreadable after minor weathering.
- Template verification: Print one test label on plain paper, wrap it around the shaft, and check that the text is centered and fully visible before printing or ordering a full sheet.
Tools checklist:
- Isopropyl alcohol and lint-free cloths
- Scissors or a craft knife and cutting mat
- Clear tape or edge-sealing overlay (optional)
- Heat gun or hair dryer (for heat-shrink sleeves only)
- Ruler or calipers for shaft diameter measurement
Golf Blab’s custom label page lists available sizes and material specs, which makes it a useful reference point when sizing a DIY template against a professional standard.

Golf Blab custom labels: a ready-made solution worth considering
For golfers who want a polished, durable result without the trial-and-error of DIY, Golf Blab’s custom golf club labels offer weatherproof shaft labels in multiple ink colors and finishes, designed specifically for golf conditions. The ordering workflow is straightforward: choose your label size, enter your text or upload a QR code or contact design, review a proof, and receive finished labels ready to apply.

What sets Golf Blab apart from a generic label vendor is the golf-specific context behind the product. The brand’s educational resources on club personalization reflect genuine engagement with how golfers use and care for their equipment, not just a transactional label sale. Partnerships with professionals like LPGA’s Mariel Galdiano, along with the Play Golf with a Tour Pro experience, signal a brand invested in the broader game.
For whole-bag protection, Golf Blab’s shop also carries complementary accessories, including bag tags and apparel, that pair naturally with a labeling setup. If you’re ready to label your set with materials built for the course, Golf Blab is where to start.
What experienced players have learned about labeling clubs
The conventional wisdom says label everything. The more nuanced truth is that how you label matters as much as whether you label.
Wedges and putters deserve attention first, not because they’re the most expensive clubs, but because they’re the most frequently separated from the bag. A putter left on the 18th green or a sand wedge forgotten near a bunker rake is a common story, and a visible label with a phone number is what closes that loop quickly.
The aesthetic question is real, too. Some golfers resist labels because they feel they clutter a clean shaft. The answer there is restraint: initials, a short phone number, and a clean font on a label sized to fit the shaft without wrapping. That’s a mark of ownership, not a distraction. Golf club personalization has matured into something that serious players embrace rather than avoid, precisely because the execution has improved.
Where cheap labels fail is predictable: corners lift first, then the whole label peels during a bag-divider cycle. Where premium laminated labels hold is equally predictable: the same corners stay flat through a full season of wet rounds. That gap is worth the small price difference, especially on clubs you’d genuinely miss.
Golf Blab makes it easy to label your clubs the right way
Every golfer who has retraced their steps looking for a missing wedge knows the frustration. Golf Blab’s custom golf club labels are built to prevent exactly that, with weatherproof materials, multiple ink color options, and a proof-before-you-print workflow that means your labels arrive ready to apply. There’s no guesswork about sizing or material compatibility because the labels are designed specifically for golf shafts.
Whether you’re labeling a single putter or a full fourteen-club set, the ordering process is direct: choose your size, submit your text or QR design, approve the proof, and receive finished labels. Pair your labels with a branded Under Armour golf hat or explore the full Golf Blab shop for bag tags and accessories that complete the setup. Visit Golf Blab today and get your clubs labeled before the next round.
Sources
- Identification Labels for Golf Clubs
- Golf Club Labels – Get Organized And Identify Your Clubs – The Brassie
- Are labels on golf clubs like using iron covers?
- Marking your clubs? : r/golf